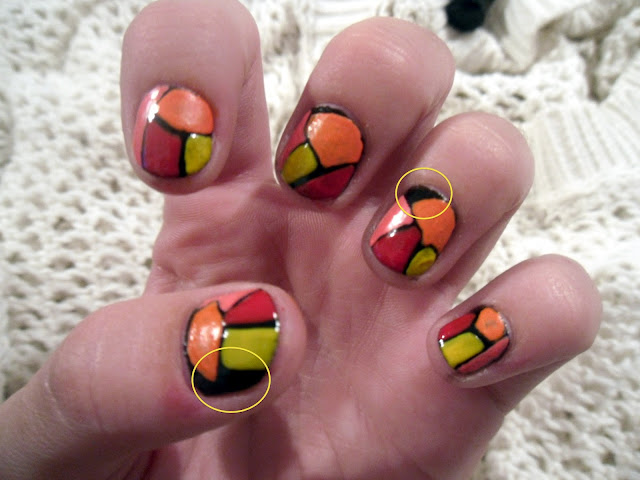
The mosaic manicure was the most daunting manicure that I have thought about trying yet. I didn’t know how to begin, and I had seen some amazing examples of this nail masterpiece. I was intimidated, and the best way to do something when you’re intimidated is to jump right in!
I really love this example of a mosaic manicure with a white outline, so cute! I also love this example of mosaic nails -- look at all those triangles! I knew that I would need some smaller nail brushes for this project, so I took a trip to the beauty store and came up with these polishes...

The Art Club polishes have a long, thin brush that makes it easier to create specific designs on the surface of your nail. The Nail Art Pens are great because you can draw whatever comes to your imagination on your nail!
I started with two coats of black polish.
I completed each mosaic piece one by one, starting with the red, and continuing with yellow, orange, and finally pink:

Once I had gone through all of the colors, my nails looked like this...

As you can see, I still had a few black spaces that I needed to fill. I chose the color farthest from that space and added another "tile."
Here is the final product!

This manicure ended up being a lot of fun. The trick is to first apply the color that will be seen in between the colors and then apply the colors on top. That ensures clean lines and creative shapes! The Nail Art Pens didn’t dry as a shiny polish, so a top coat (as always) was a must! I hope this tutorial helps all of you ready to dive into the mosaic trend.
By: Audrey Prisk | Images: Little Nails, Audrey Prisk


Post a Comment